If you’ve lived in your home for a while, then it may be time to have some work done on it. One of the areas that you’ll want to focus on is your bathroom. Indeed, due to how often the bathroom is used it likely is in need of a little refreshing. One of the best ways to do this is through caulking. And while caulking may seem simple, there are a slew of different things that you’ll need to know in order to get the most out of it. This is why we thought it would be useful to put together a brief run-through of what you should and shouldn’t do. If you want to learn more about this, read on as we break down important dos and don’ts of caulking the bathroom.
Do: Choose the Best Caulk
Choosing the right type of caulking products can be rather tricky as there are a wide variety of caulking products labeled “for bathroom use” or similar are available at most home improvement centers. Caulk formulated with a silicone formula is best for bathroom projects that need a stronger seal, but products formulated from latex are easier to work with.
Don’t: Try to Fill Large Gaps with Caulk
Openings that should be filled with caulk should be no wider than half an inch, or no deeper than a quarter of an inch. If the gap is any wider or deeper, use appropriate backing material to fill in the gap and allow the caulk to fit snugly into the opening. Backing material ensures that caulk is not pushed into a recess that is too large for caulk to be of any use. The key is to use caulk in small amounts on clean, dry surfaces to create a watertight seal against moisture. Simply applying lots of caulk will not create a strong enough bond to protect against water damage.
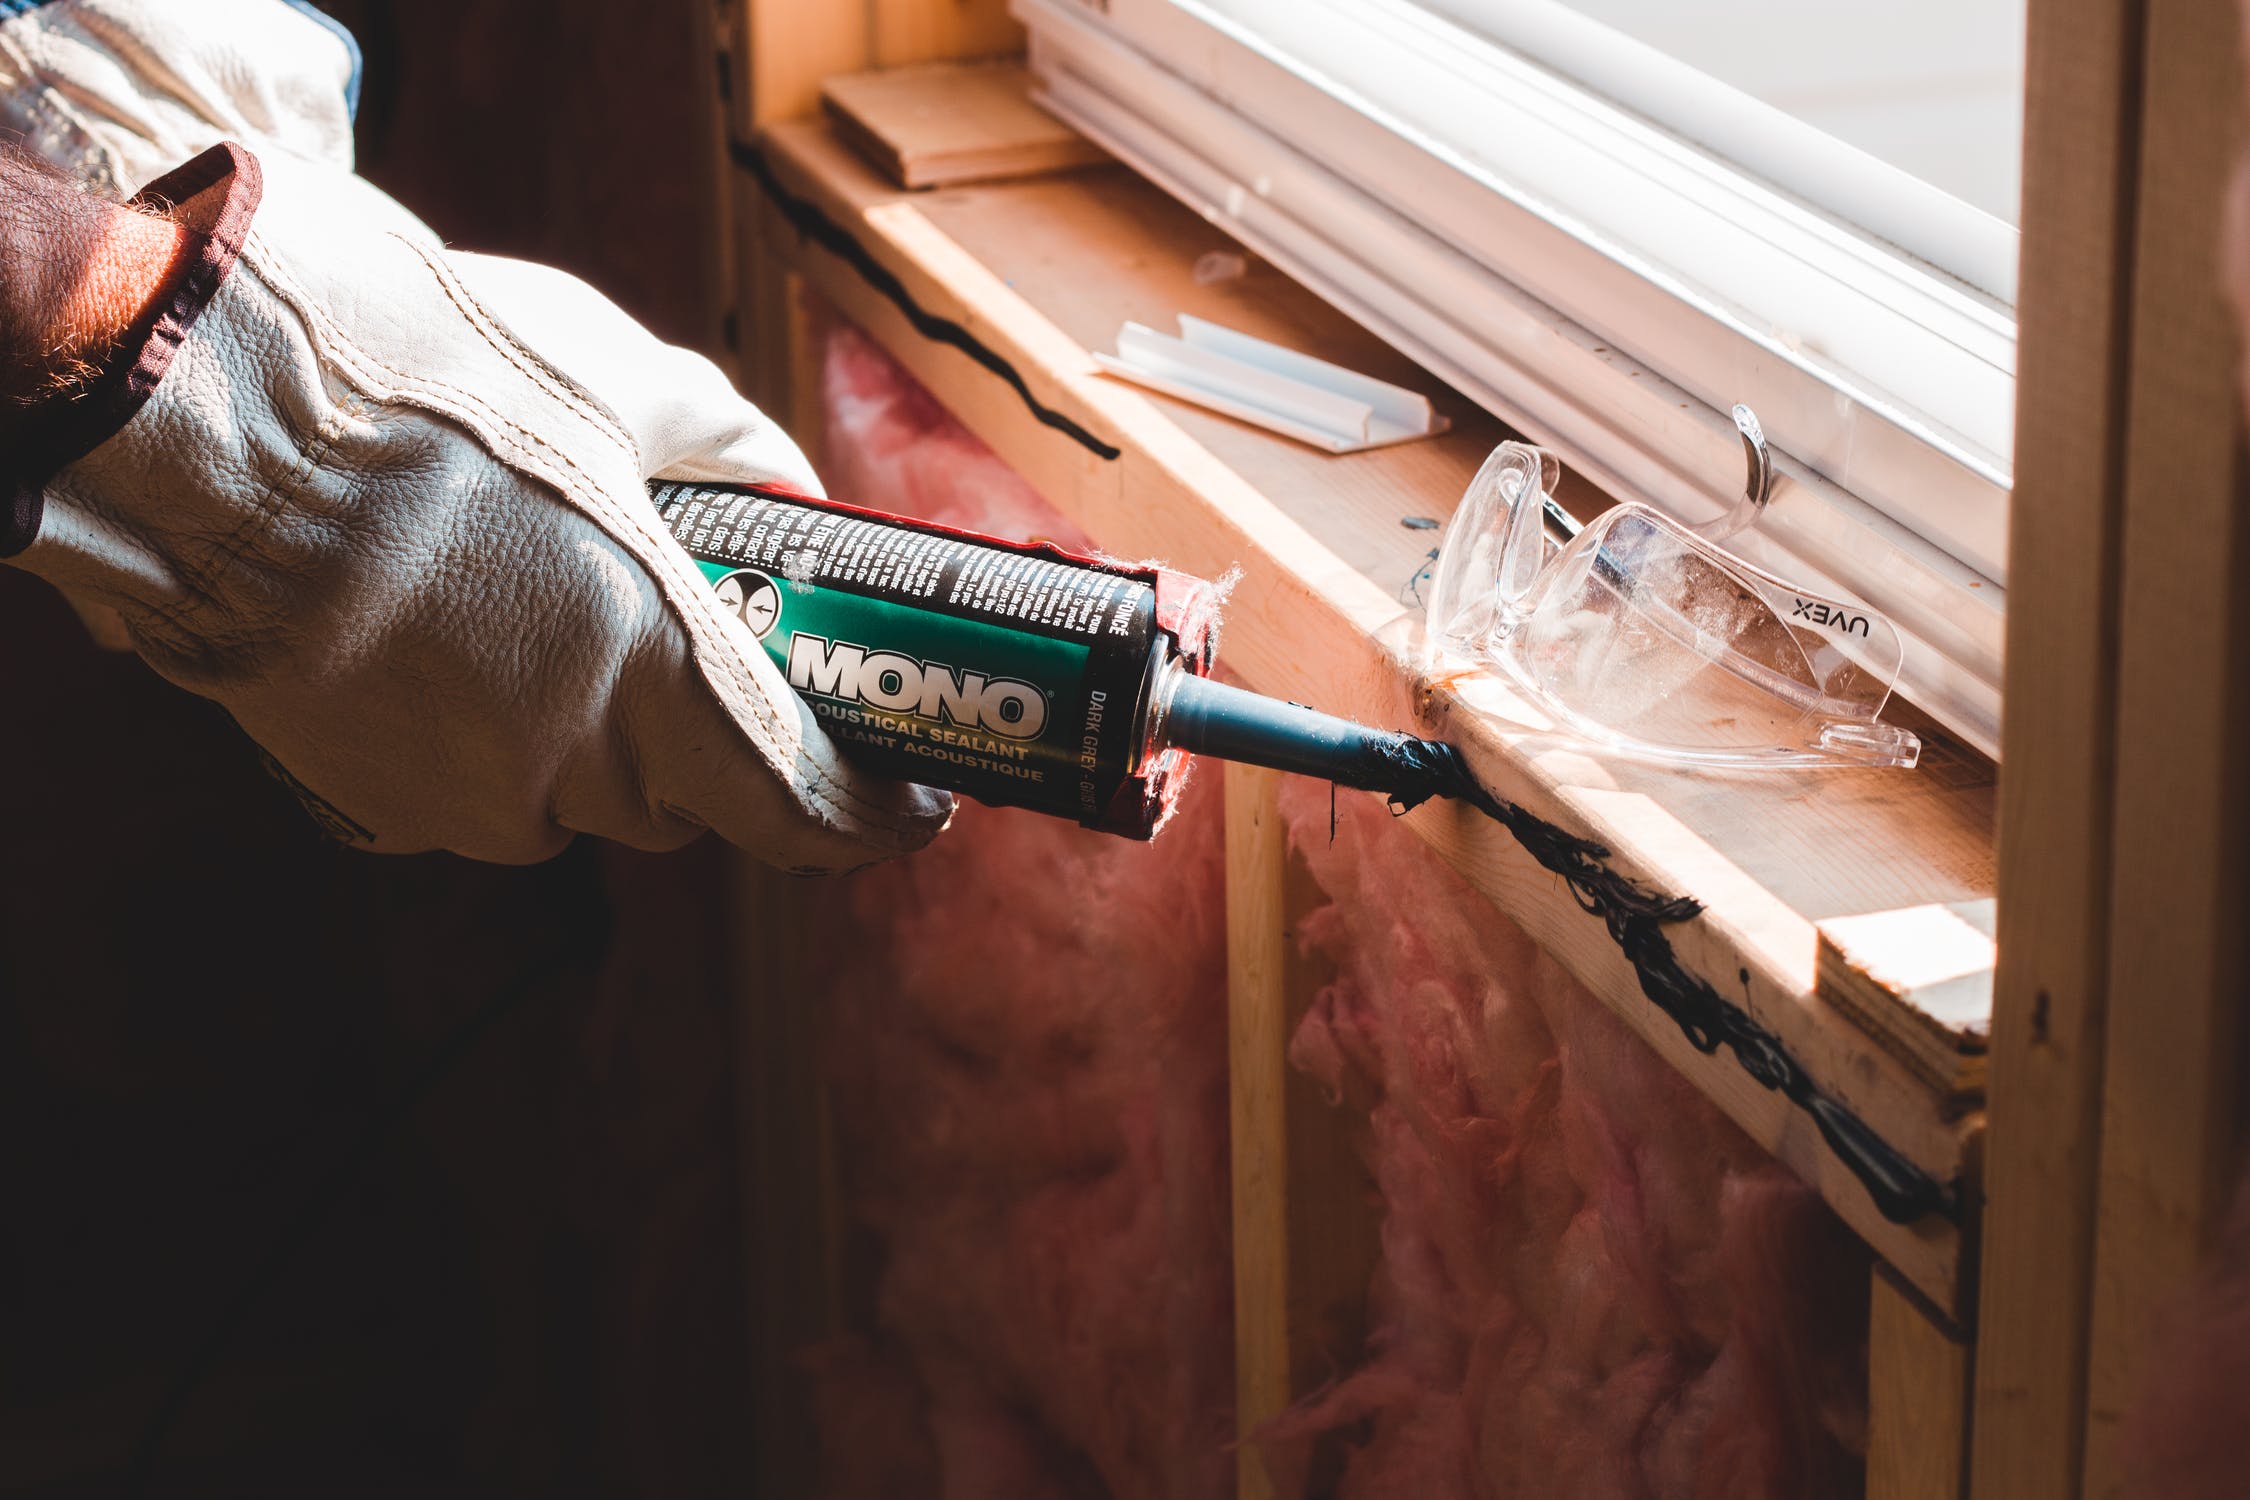
Do: Apply the Caulk with Proper Technique
Caulking doesn’t have to be difficult as long as you know what you’re doing. The trick is to tape off the area where you will be applying caulk so that it doesn’t get on anything else. Once the area is covered, take your caulking gun in one hand and gently squeeze it. A small amount of caulk will come out of the tip, but don’t let it tighten up too much. Make sure that you can still move the caulk along easily enough to apply an even bead with a width of about pencil thickness. Once you are satisfied with your starting point, begin to apply pressure so that the caulk comes out of the tube in a uniform stream, keeping the stream uniform as you move along the crevice.
Begin where you will and apply a bead of caulk that runs about half the length of the crack. Then add another bead from the opposite end to connect to the first. However, any starting point will work. Once you have caulked the bathroom, wet your finger and run it along the bead of caulk to remove some excess caulk. Wait until you are satisfied with how smooth it looks before you remove the tape.
Don’t: Use the Bathroom Until the Caulk Has Cured
Caulking hardens over time, but it is very susceptible to damage before it fully hardens. Remember, caulk does not bond to wet surfaces, so even if your surface (tile, sink, etc.) was dry when you applied the caulk, water may seep in under the worked caulk. For the best results, allow at least 24 hours for the caulking to harden before using your bathroom.
Conclusion
We hope this article helps further your understanding of how to best approach caulking your bathroom. Be sure to keep everything you learned here in mind so that you can make the most of the caulk that you’ve installed in your space. For the best results, we recommend working with a professional handyman.
Gillespie Handyman Services offers quality handyman services in Ottawa in Barrhaven, Kanata, Nepean, and Orleans in Ottawa at affordable prices. Contact us today to schedule a service!